All tips and tricks listed on this blog post are from personal experience and results are in no way fact or guaranteed. Individual results may vary based on your own experience.
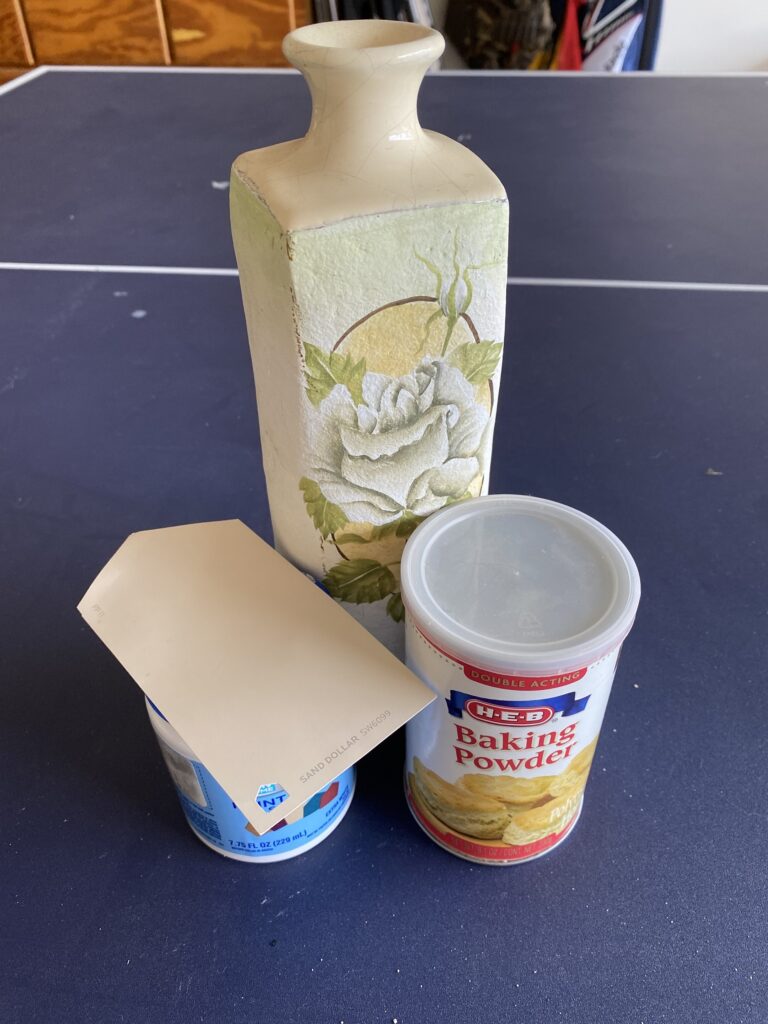
This little Goodwill Vase Makeover is quick and easy. I wanted to give this vase a cohesive textured look, almost clay like. It already had some good texture on 90% of it, however the top was glass and smooth. I rummaged through our garage and found some paint samples we have collected over the years and decided to use “Sand Dollar” by Sherwin Williams.

Materials used were:
- the vase of course, which was $4 from Goodwill
- the paint sample we had in our garage
- baking powder and a paintbrush
- I also used 2 paper plates, one for the paint and one to sit the vase on while I painted.
Y’all when I say super easy I mean SUPER EASY. The whole project took probably 10 minutes.
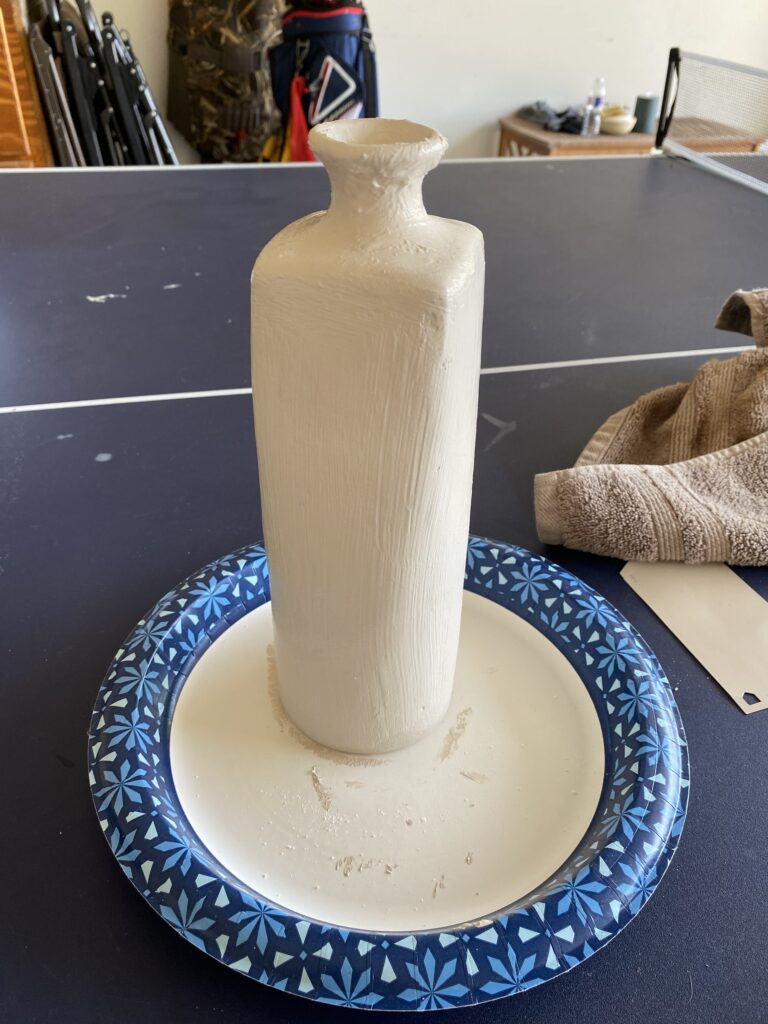
Step 1: Pour some paint on to a paper plate and add the baking powder, mix well until you receive your desired texture. I ended up adding more paint to thin it out a bit because it makes the paint THICK.
Step 2: Paint the vase with short strokes and going with the “grain” for the base I went north to south as I wanted it to have the natural clay pot look. Seamless. For the neck that was glass, I used more rough strokes and mainly dabbed. It did have a harder time sticking to this area so I went over it a few times. I wanted it to look a little imperfect so there are some spots that are rougher than others, but again I wanted it to look natural.
My trick for keeping the brushes wet/moist between coats is: take the wet brush, paint still on it, and put brush side inside of a Ziploc bag. Take a rubber band or hair tie and wrap around the brush & bag until tight. Throw the brush in the fridge until your next use. This will keep the brush moist, and avoid drying out, while also avoiding the brush/paint being watery on your next application from rinsing. To be honest, I NEVER rinse my brushes unless I absolutely have to.

Step 3: Apply a second coat if you wish, I went ahead and did a second coat just because I had left over paint/baking powder already mixed and didn’t want to waste it.
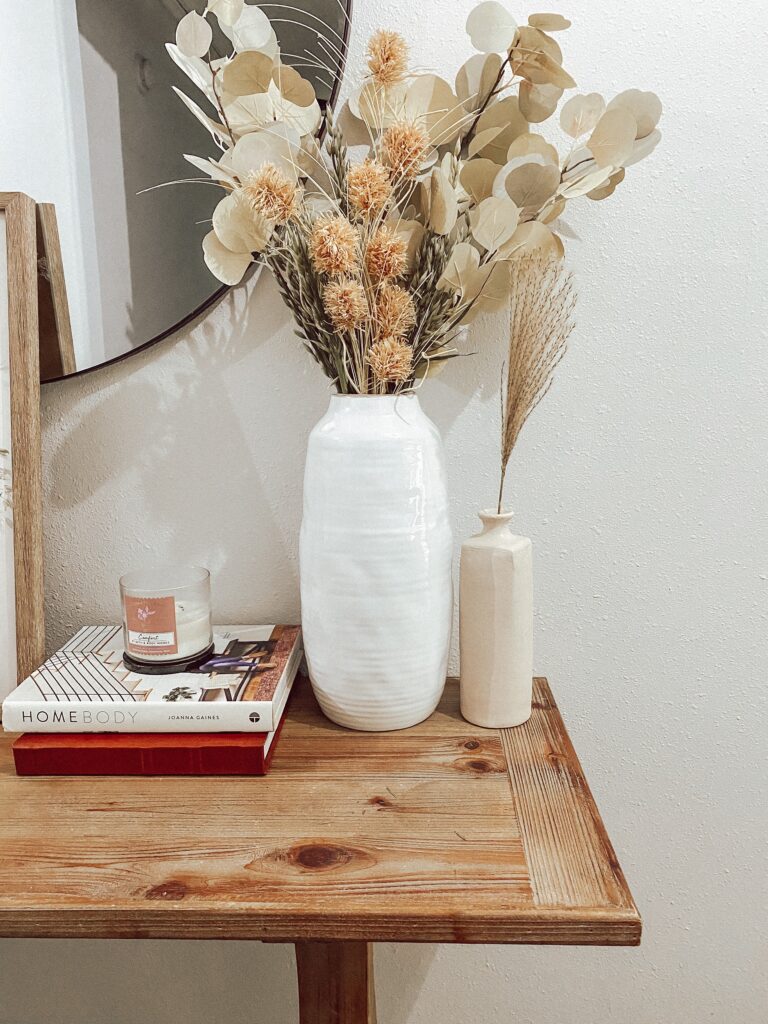
And you’re done! Told ya it was super easy! Here is a pic of the final product:

I hope you liked this Quick Goodwill Vase Makeover tutorial, let me know in the comments! Make sure you are following Wife With A Budget on all my other platforms so you can stay in the loop!
Looking for more home decor ideas? Check out my Home & DIY’s page for more ideas for your home! Don’t forget to share this post on Pinterest! Also, tag me in your posts and give me a follow on Instagram (@wifewithabudet) & like my Facebook page, I love seeing how others style their homes!