All tips and tricks listed on this blog post are from personal experience and results are in no way fact or guaranteed. Individual results may vary based on your own experience.
This post may contain affiliate links and I may earn a small commission if you choose to shop through the links provided at no extra cost to you. Please know that while I may be promoting products in this post, all opinions are my own and these are products I love and support.
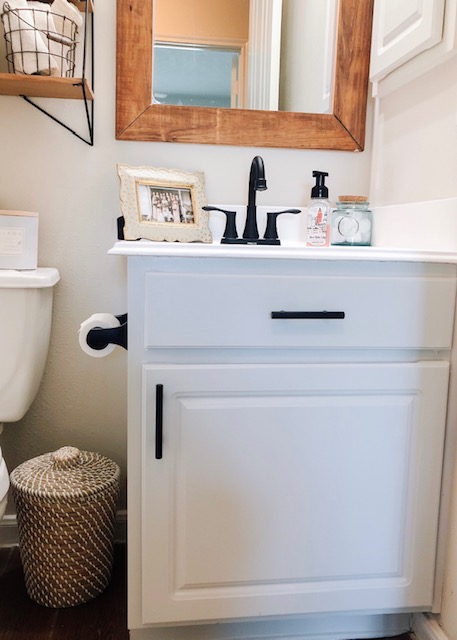
We have been wanting to do a DIY Bathroom Update for quite some time now. Quarantine turned out to be the perfect time. The big kicker was we were limited on where to get everything we needed. Insert: Amazon! You all know my extreme love for all things Amazon, well my love is even bigger now, if that’s even possible. It all started with me wanting to paint the cabinets. They were the basic builder grade white. They had the plastic covering over the doors that was easily removed with a razor blade and a good pull. What was underneath the plastic covering was like a cork-board type of wood. The rest of the cabinets however, were painted white.
FYI: Cody and I always go ahead with sanding AND priming when it comes to painting cabinets. I have heard you can do either or, but we want to make sure that we are getting the most out of them and don’t want to cut any corners, so we do both. Since the material these cabinets were made out of weren’t a “real” wood the only sanding we did was a little scuffing up. Just enough to make a texture so that the primer and paint will have something to grab on to. I personally would suggest sanding with any paint project you have, and still using a primer too. Think of it as just and extra layer of precaution knowing that your paint WILL stick and STAY for the long haul.
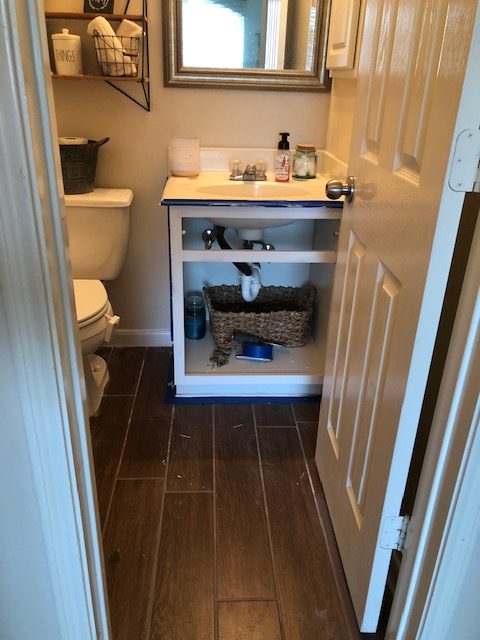
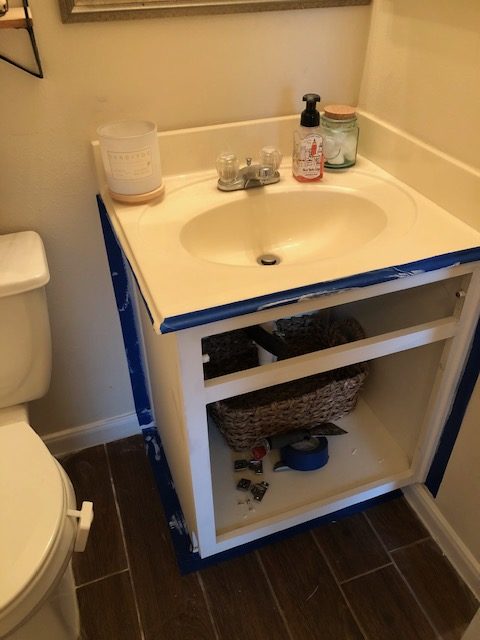
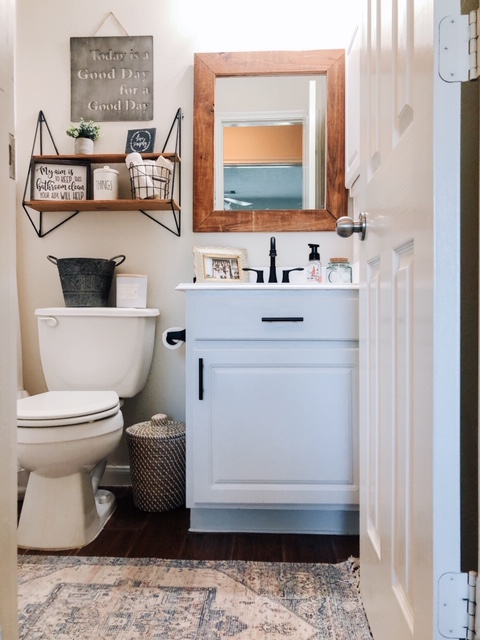
Here are some before & after pics of our DIY Bathroom Update
Materials:
As you can see there wasn’t anything “wrong” with the bathroom, however this project has been on my list of things to do for a hot minute and I figured since we have PLENTY of time right now, why not?! It actually turned out to be a fairly cheap project too! *y’all know me* So – let’s get started with the materials used for this DIY Bathroom Update.
For the Mirror we used Cedar wood that we took out of Cody’s dad’s house. He is about to start the process of tearing his current house down and building a new one. So we took that opportunity to go raid everything we could. The wood for the mirrors actually came off the door frames of the house. PRETTY COOL!
I also always recommend using safety glasses and some type of mask when working with a sander or paint. Especially spray paint.
Paint Color
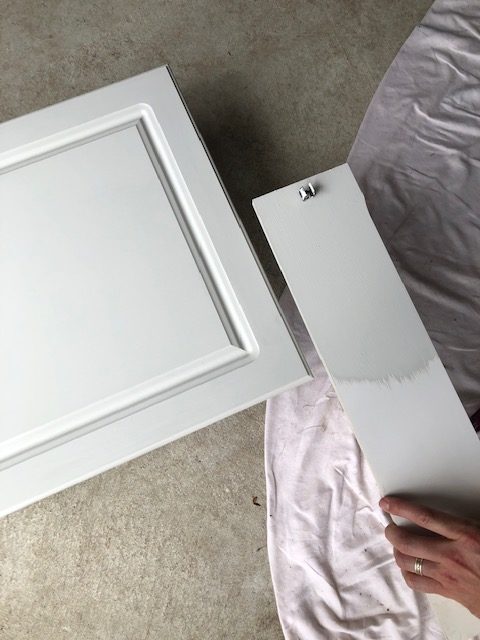
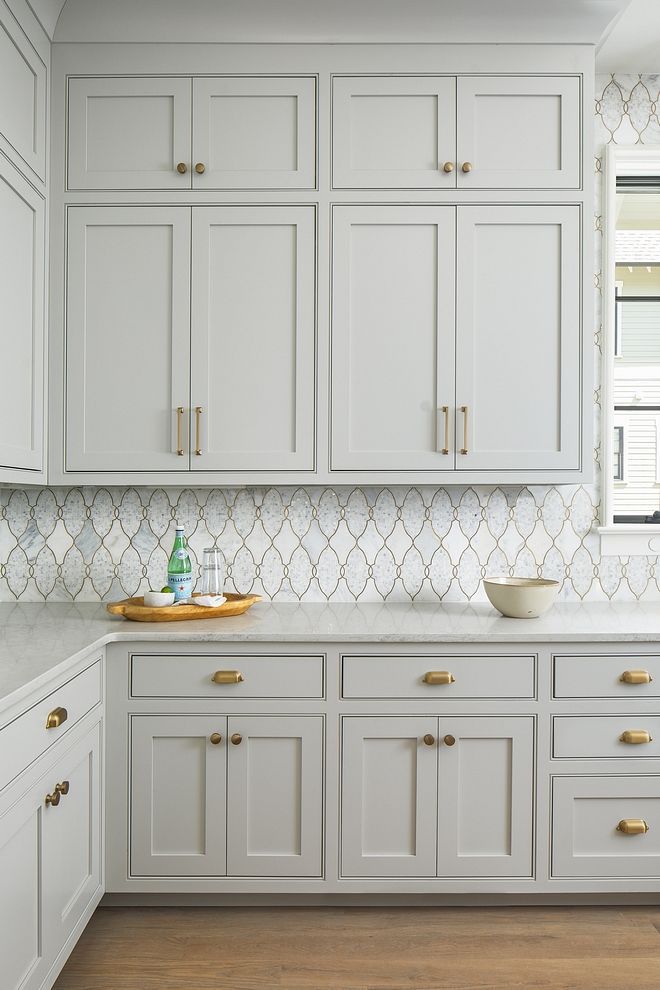
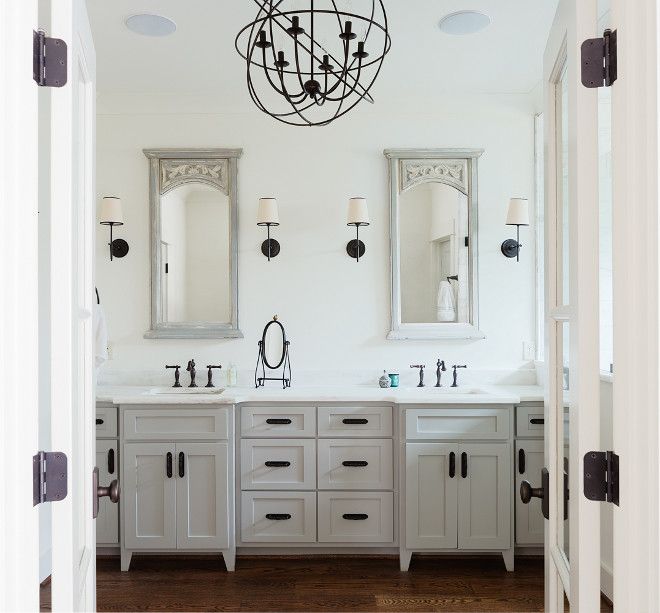
We chose Benjamin Moore “Gray Owl” for the cabinet color. It is a beautiful neutral gray that doesn’t have any harsh undertones.
Here are some pics from online that we used for inspo to choose our paint color:
Preparing the Cabinets for Paint
This was the easy part! We are pro’s at painting cabinets by this point (if you don’t know we also painted our kitchen cabinets about 2 years ago!) So we pretty much knew the gist of what to do.
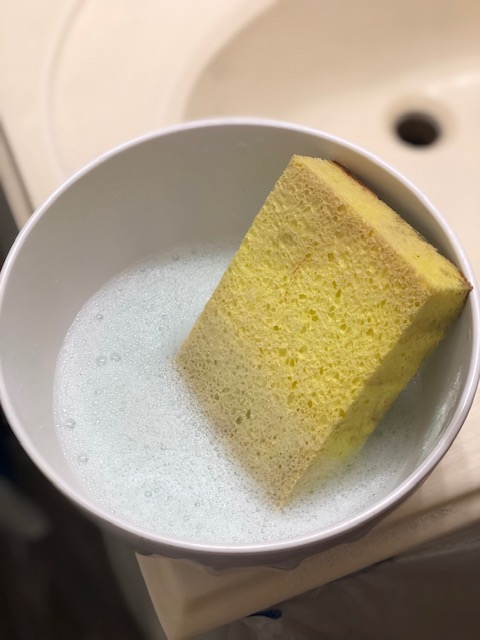
First thing’s first- cleaning. We like to use TSP when cleaning cabinets to paint them because it is strong, and doesn’t damage anything. The box has directions on it, but I am pretty sure it’s just 1/4 cup TSP and 1 gal of water. Obviously you don’t need that much to clean such a small space, so we edited accordingly. Use your sponge to clean the surface and remove all dirt and grime from the cabinets and counter tops (assuming you are doing those too!) After cleaning you want to wait about 30 mins to an hour to that the cabinets have time to fully dry before sanding.
When it comes to sanding you have 2 choices; hand sanding or using an electrical sander. We personally pretty much always go for the electrical route unless hand sanding is the ONLY option. But, it’s up to you. For the cabinets we used a Medium Grit Sandpaper to LIGHTLY sand the wood, just enough to scuff it up- we did not want to take it down to the bone.
After sanding the next step is priming. We used the same primer we had left over from painting our kitchen cabinets. Like I said before we ALWAYS sand and prime. This will ensure that your paint will stick to the surface for the long haul.
Painting
Painting the cabinets is pretty self explanatory. I like to use pretty decent priced brushes so there is less fall off from the bristles. Not the most expensive, but not the cheapest. I always do 2 coats, and I wait at least 4 hours between coats to ensure the first coat is completely dry before adding another.
My trick for keeping the brushes wet/moist between coats is: take the wet brush, paint still on it, and put brush side inside of a Ziploc bag. Take a rubber band or hair tie and wrap around the brush & bag until tight. Throw the brush in the fridge until your next use. This will keep the brush moist, and avoid drying out, while also avoiding the brush/paint being watery on your next application from rinsing. To be honest, I NEVER rinse my brushes unless I absolutely have to.
To Paint the cabinets, we always remove them. and place them in the garage on paper cups. This allows the paint to dry and also avoids having to set the doors/drawers on the ground.
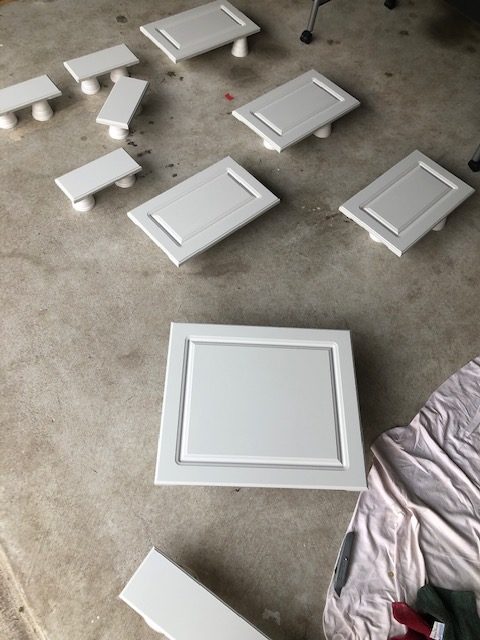
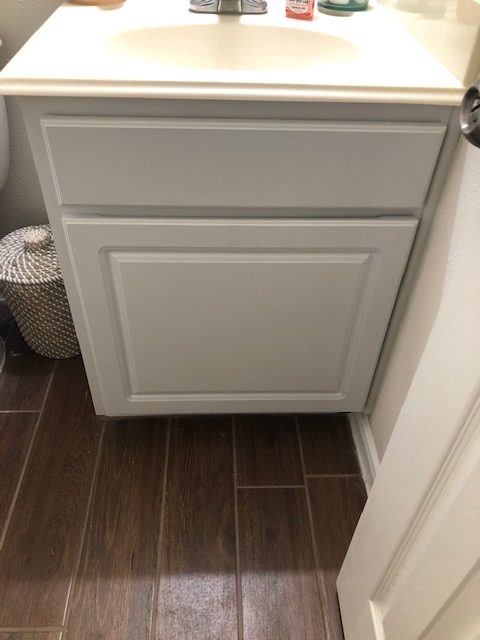
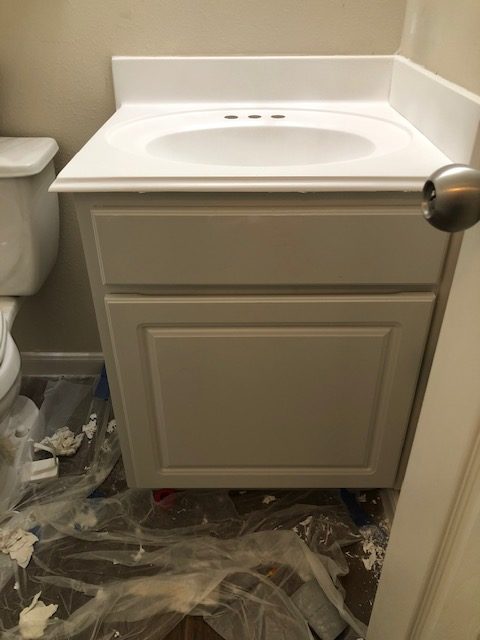
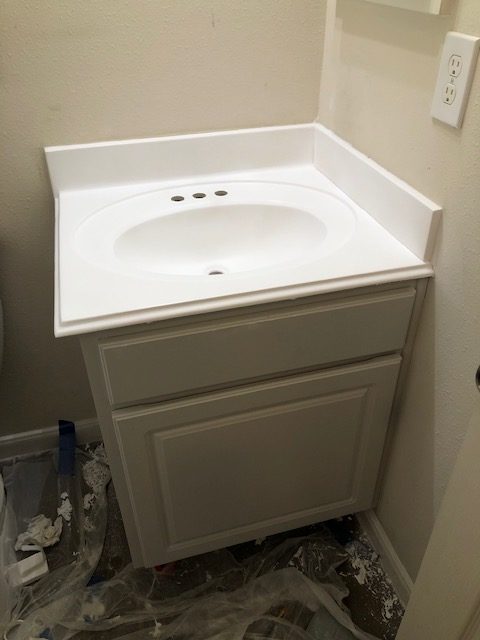
Here are some photos of the cabinets put back together after 2 coats and before hardware or refinishing the sink:
Refinishing the Sink
Ah now for the fun (not really) part! LOL. OK so for really, this wasn’t THAT bad. I just royally messed up the first try. Ugh, but not everything is sunshine and roses OK. So learn from my mistakes, friends…
To prepare for the paint you want to remove the current faucet, unless youare keeping it. Then use your course grit sandpaper. We had some left over from a previous project so that worked great. You want to sand the sink/counter top until you feel like your arm is going to fall off. No, really. SAND, SAND, SAND. This is one of those special instances where I opted hand sand vs electrical sand mainly because I didn’t really know what I was in for.
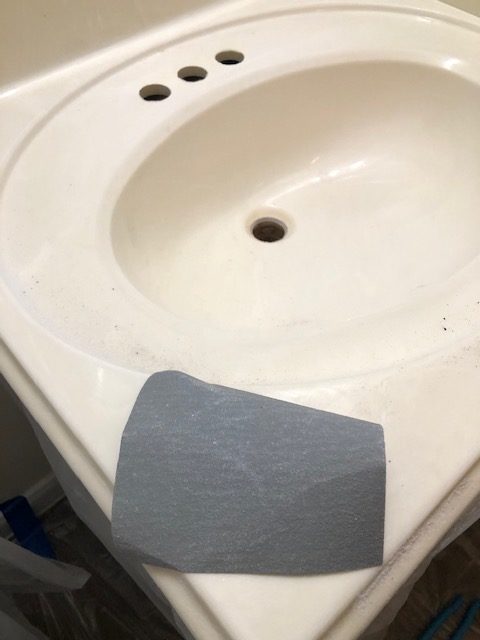
You want to see lots of white powder from the finish coming off. Sanding the counter top is going to allow the paint to adhere and stick beautifully. Once you have sanded until you can’t sand no more you want to get all that dirt and dust up. We used our shop vac to vacuum it up first, then went back through with the tack cloth to make sure all of the particles were up and we had a clean surface to work with.
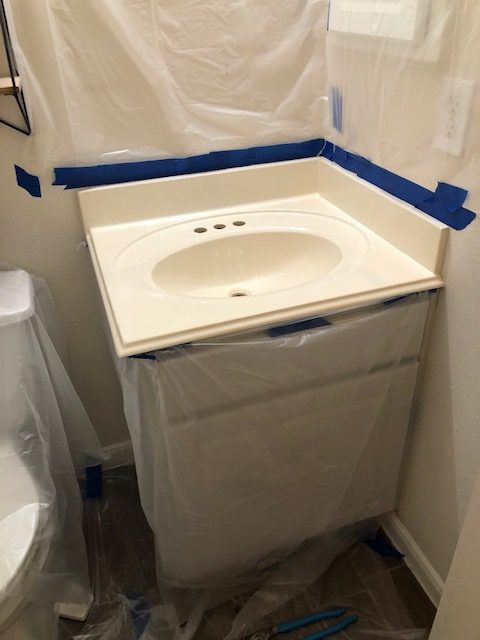
Now for the good stuff. Spray Painting the sink & counter! We taped and wrapped everything we possibly could that could possibly get ruined from the spray paint. Walls, floors, toilet; anything that was in the “splash zone”.
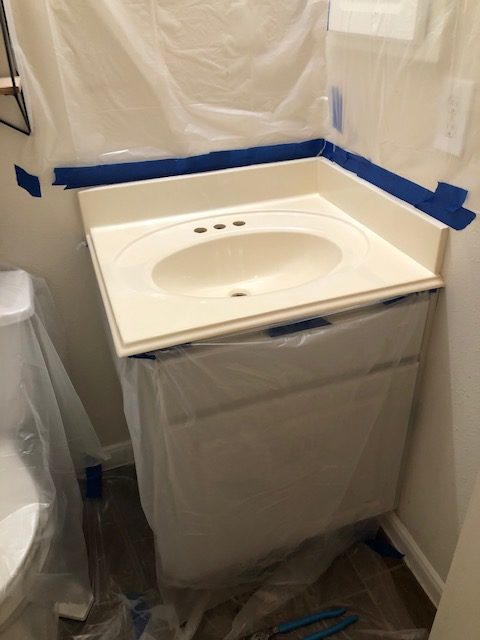
In order to go even further in protecting the rest of the bathroom, we used part of a cardboard box when spraying against the edges of the sink. Kind of like a shield. So we would have paint on the cardboard vs everywhere else.
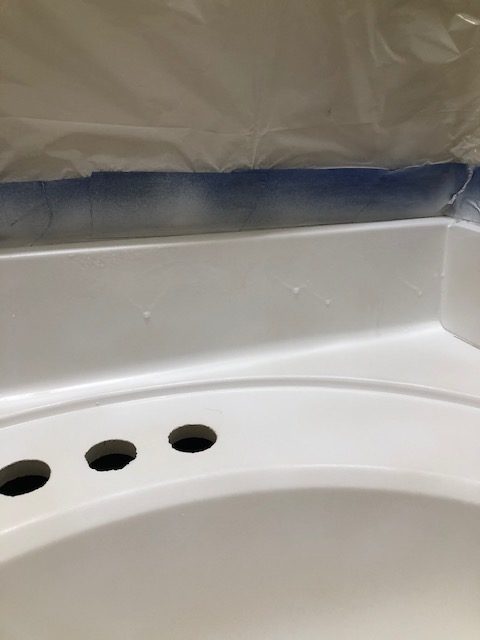
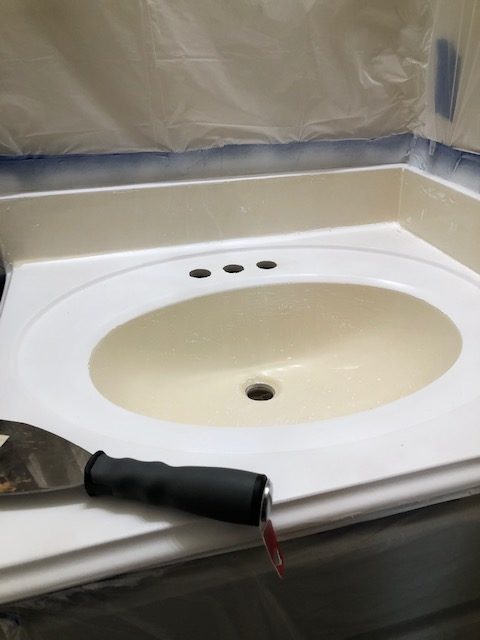
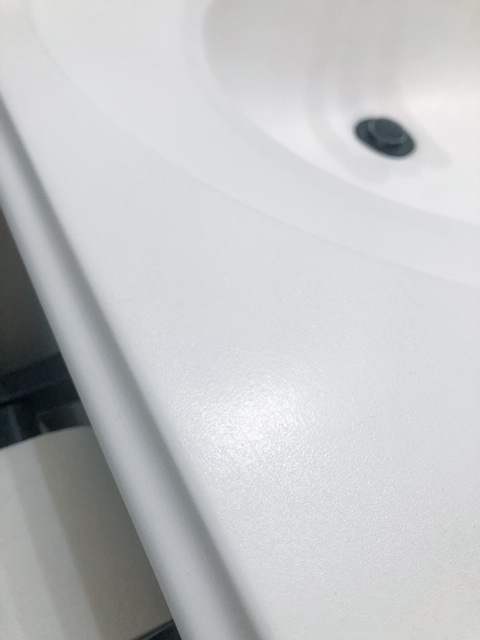
Now here is where I made my mistake: I sprayed too close to the sink the first time…. UGH YES. It was horrible!!! I ended up having to let the paint dry (not all the way), then go back with a razor blade and scraper to remove the paint. LOL it was so bad, and took HOURS. Heads up! This paint is THICK and STICKY. There is no touching up with a paint brush (I tried) and there is no applying more once it’s dry. I noted that the counter top had a very rough texture to it and it was because I let it dry a little bit, then went back with a second coat. You literally have one shot to make it right, or you will end up like me and spending 3-4 hours removing the paint you just applied. DON’T BE LIKE ME!
Now, once I removed the paint I decided to go ahead and sand again. Making sure that I removed as much of the prior coat as possible. Thankfully I had an extra can of paint ( I ordered 2 just in case). And this time, I was much more careful.
Time for round two. This time I knew what I had to do:
- Back up, you need to be 8-12 inches from where you are spraying
- Spray continuously. Go through and do an even coat then go back, you will have missed spots.
- Shake the can in between when you feel its needed.
- Do not let it dry before you are done. You have about a 20 minute window, if that, to get it sprayed completely. This stuff dries fast!
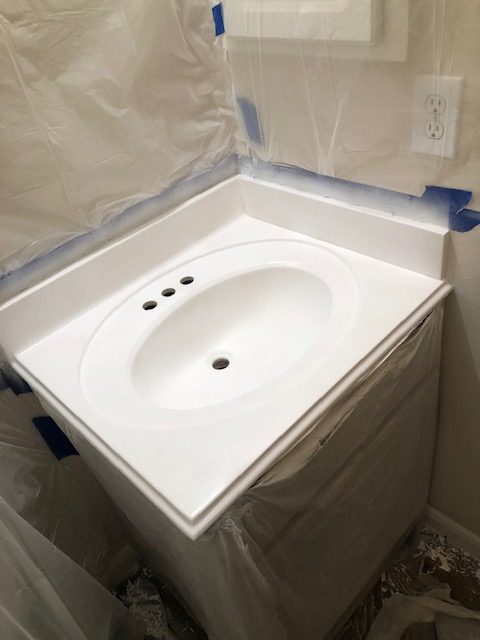
Ah, much better!! This time it turned our exactly like I imaged!
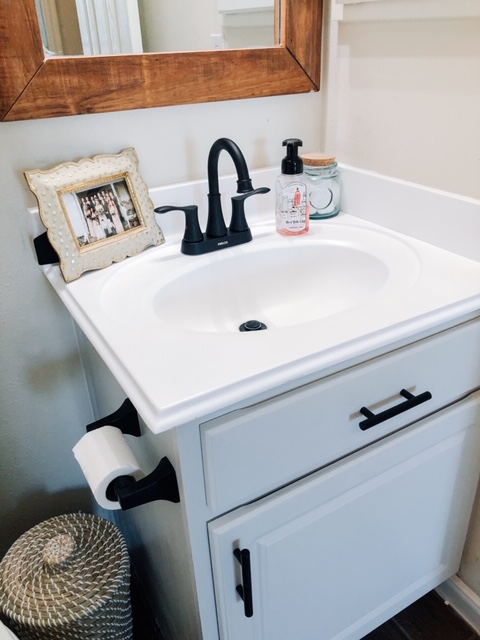
Ah, alas the beautiful bright white counter top I had been dreaming of! Now to add the hardware!!
Fixtures
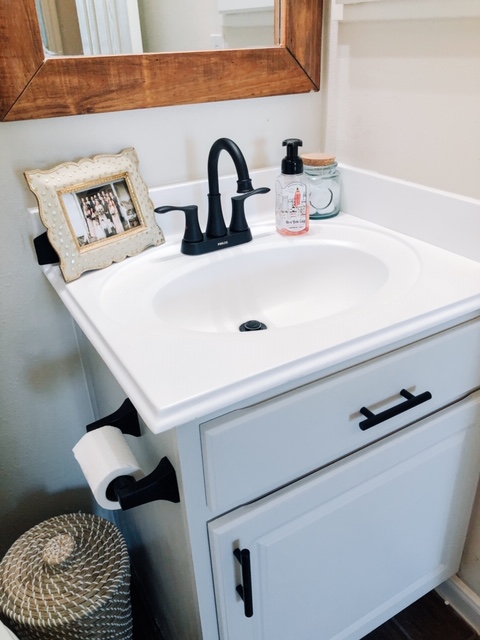
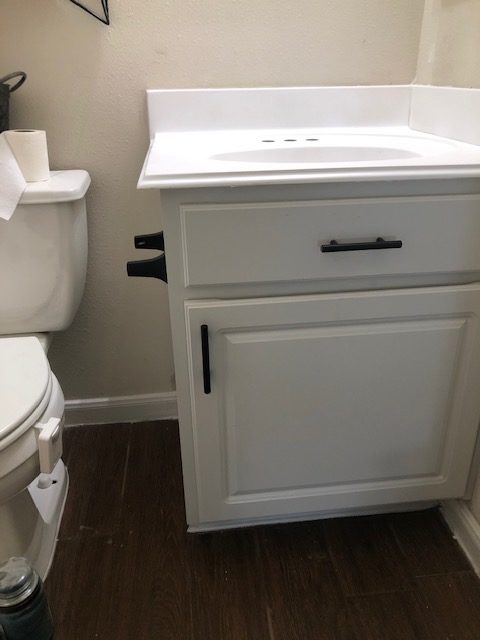
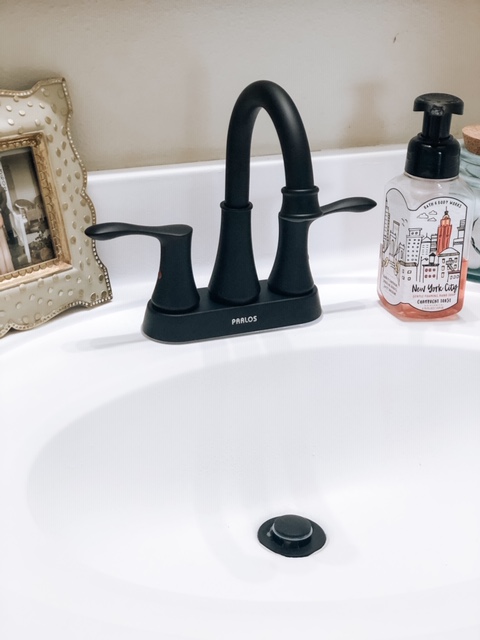
Now for the fun part! I was so happy that I found these fixtures on Amazon & for super cheap!! I used the same hardware for our kitchen cabinets (for those I did “oil rubbed bronze”) so I knew they were a good pick. For the faucet, we just recently purchased one from Amazon (see my Top 15 Amazon Purchases post) so I wanted to do the same for the bathroom. I am very pleased with how both the faucet and the hardware turned out!
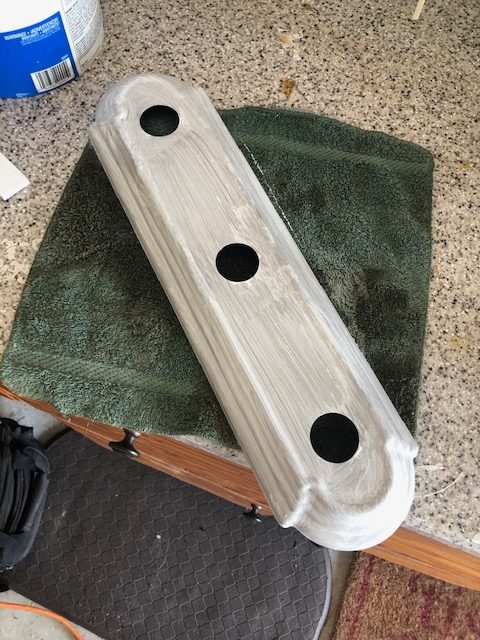
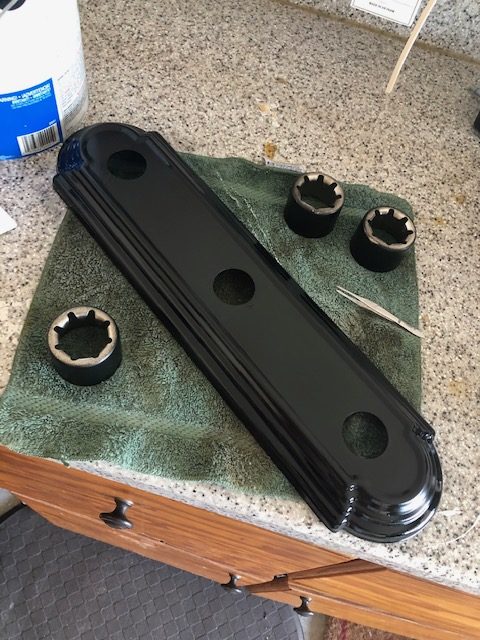
The toilet paper holder is actually the original! I mean, it isn’t really a DIY Bathroom Update if you aren’t at least trying to reuse some of the original things, am I right?! We used the Flat Black Spray Paint to paint that and also the original light fixture. Even though the canister says that it is “paint and primer” we went ahead and primed the fixtures with the same primer used on the cabinets! Like I said earlier, we like to make certain that our paints will stick no matter what!
The Mirror
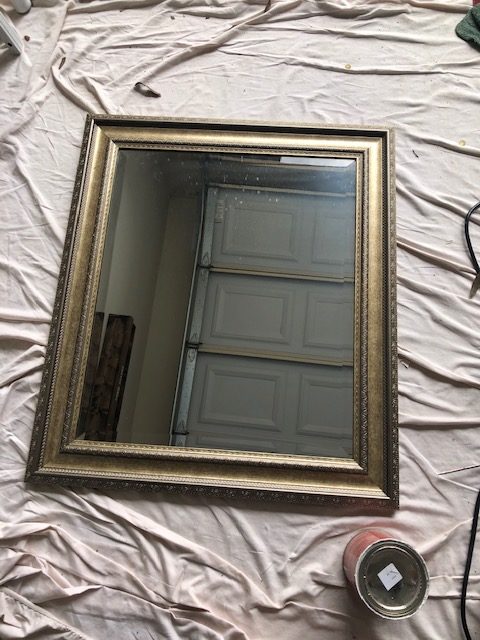
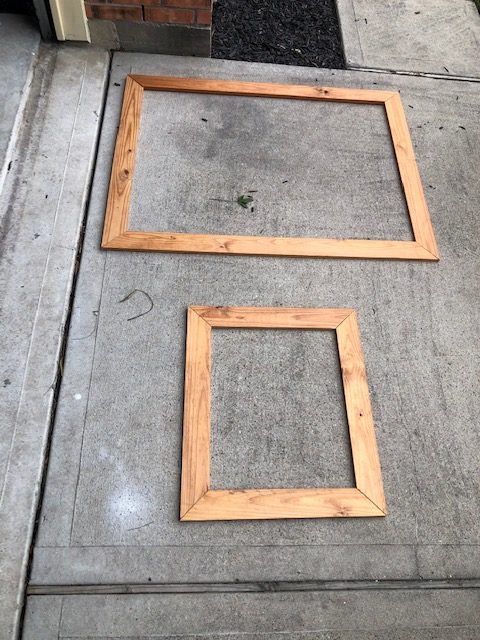
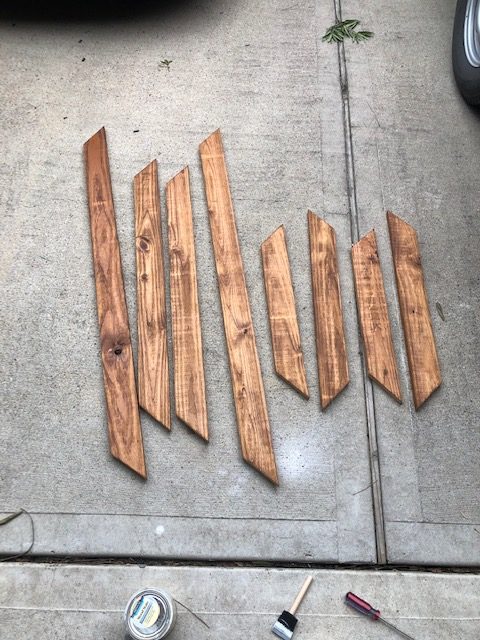
The original mirror in the bathroom was what the previous owners had up. I was wanting to do a round one, but could never find one that I fell in love with. So- we decided to recycle! Cody’s dad is in the process of tearing down his current home, and then building a new one on the same property. So pretty much anything in that house is fair game. We went over there one day and started ripping wood off the walls, literally. The wood used for the mirrors (we are doing the master bath too) are from the door frames inside the house. They are cedar wood, so once we cut them I decided to stain them with a neutral color, an all time fave, Early American.
Cutting the wood was a little tricky, we wanted to keep the frame at 45 degree angles like the original. We used the old frame as a guide on measurements. And with a little trial and error we finally got the wood to sit flush and form the perfect square. To adhere the wood to the mirror we used Liquid Nails & a nail gun. The nail gun probably wasn’t necessary, but we just wanted the extra assurance.
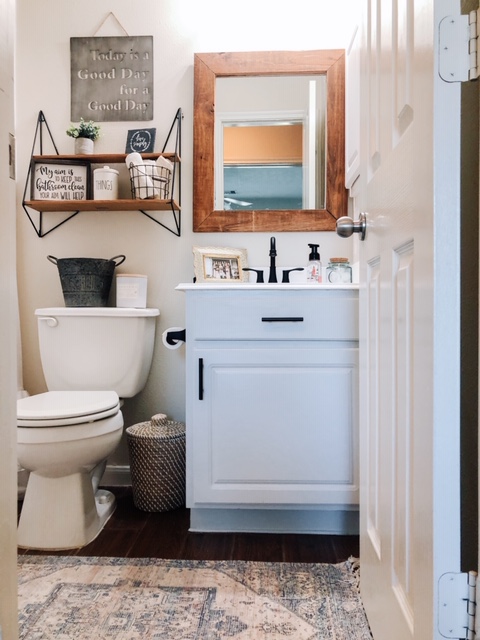
The mirror was the final step to this DIY Bathroom Update and pretty much the icing on the cake! I am obsessed with how this guest bathroom turned out and can’t wait to finish our master! Here are some more pics of the final product:
I hope you enjoyed reading this tutorial on our DIY Bathroom Update! I know it is long, but we really went all in! I can’t wait to hear about and see your projects! Don’t forget to tag me in your posts, I seeing that my tips are helping others! Drop a comment if you are planning to update your bathroom!
Looking for more home decor ideas? Check out my Home & DIY’s page for more ideas for your home! Don’t forget to share this post on Pinterest! Also, tag me in your posts and give me a follow on Instagram (@wifewithabudet) & like my Facebook page, I love seeing how others style their homes!
