This post may contain affiliate links and I may earn a small commission if you choose to shop through the links provided at no extra cost to you. Please know that while I may be promoting products in this post, all opinions are my own and these are products I love and support.
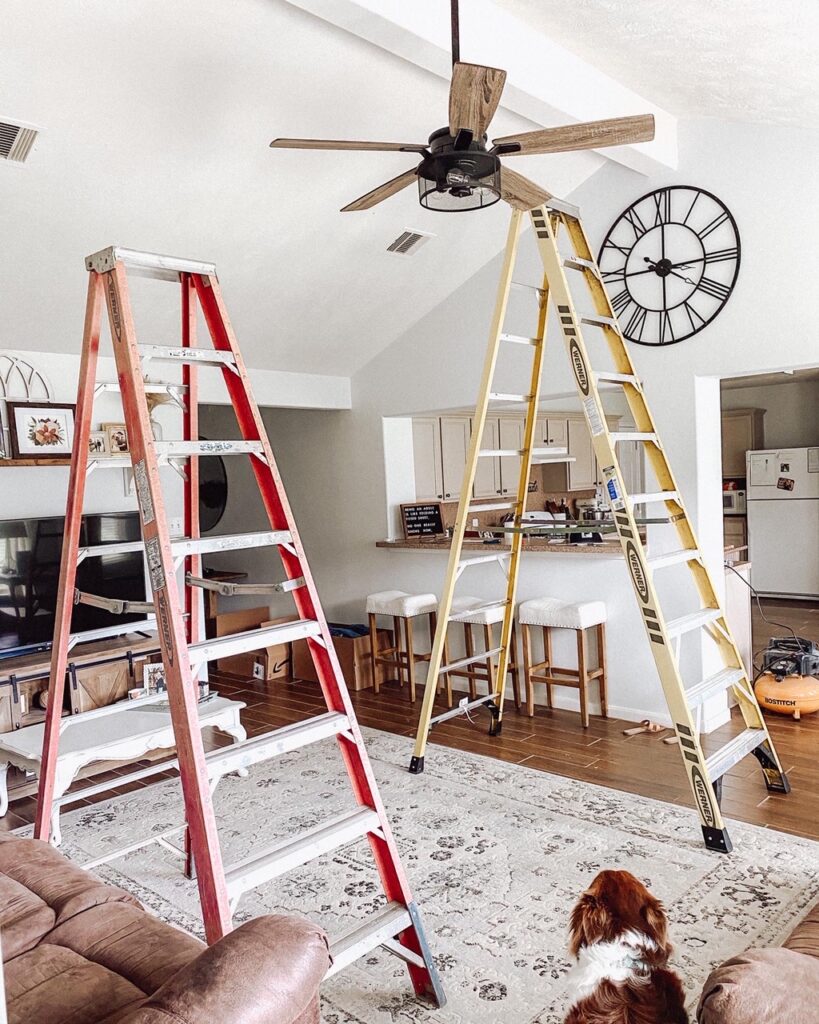
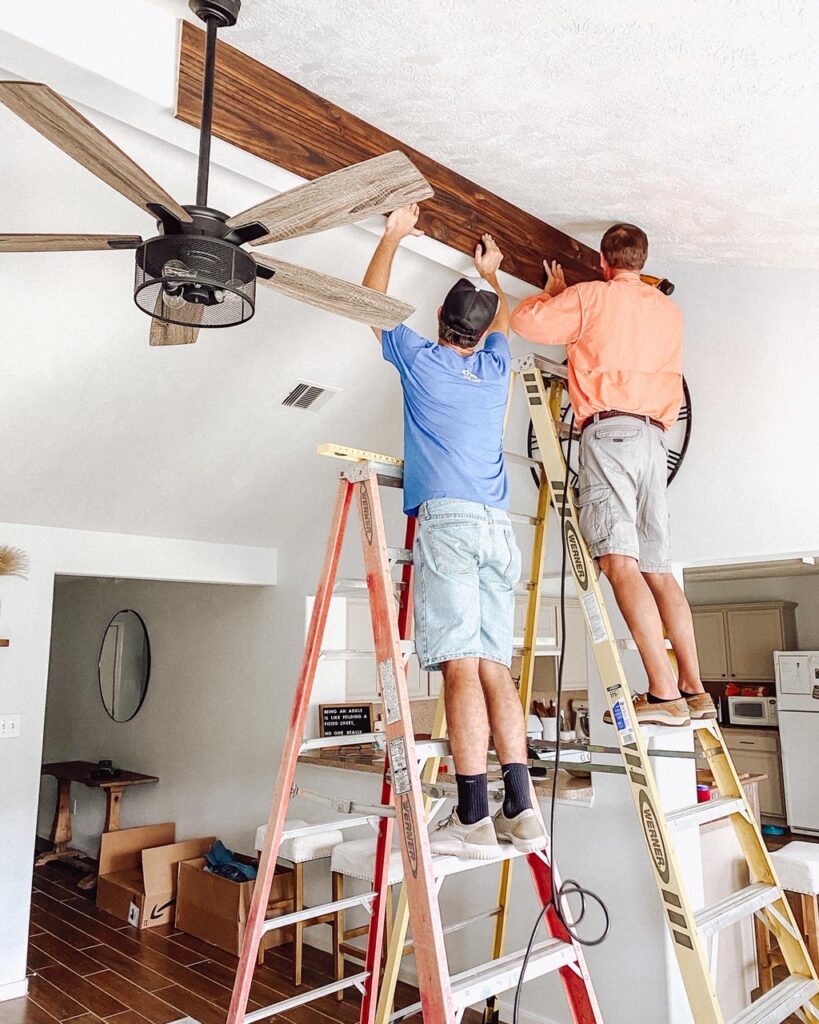
Hey Y’all! It has been a while since I have posted on here. SORRY! Life has been so busy and I am so grateful! But, I didn’t want to hold off on this post for any longer! So- a few months ago we did a little DIY project in the Ressler household. I figured it was about time for one. We had been talking about covering our beam in our living room for a few months and just never got around to it. We finally set a weekend to get it done! Before deciding to go ahead and do it ourselves, we of course looked into having a wood covering made for it, or any other options that were out there, just to see. Of course they were SUPER expensive and way out of our ideal budget for this project. So, we opted for a DIY Wood Beam.
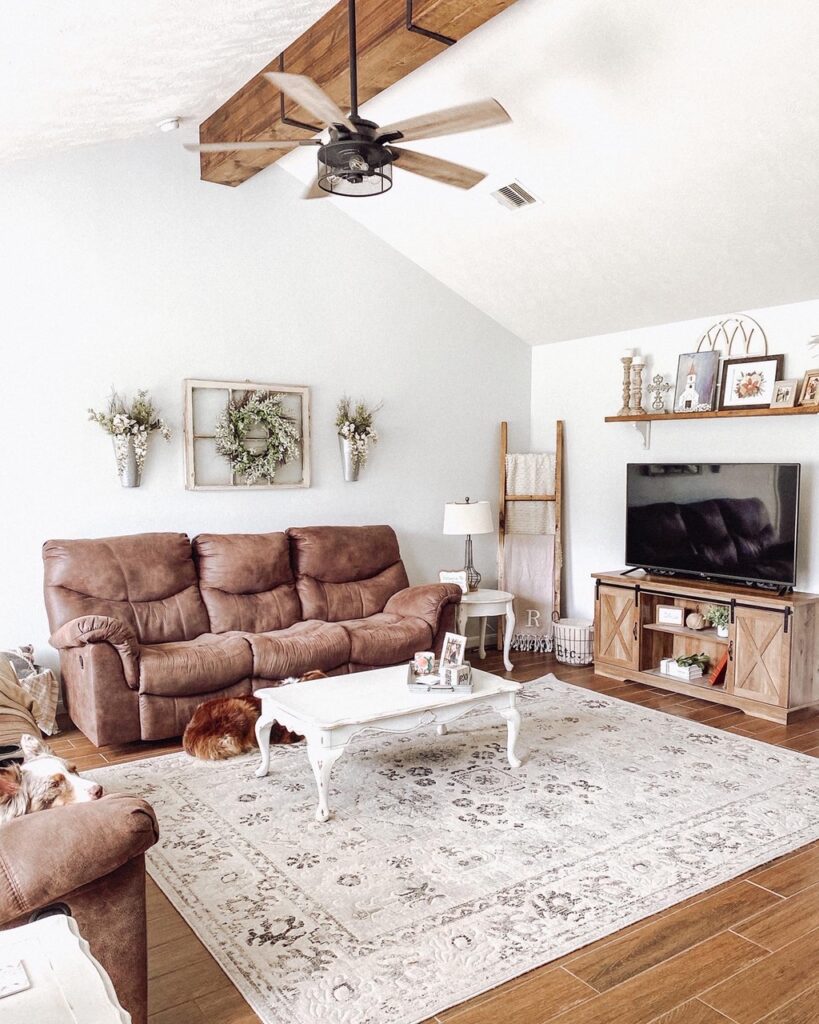
This DIY Wood Beam project was actually pretty easy. Sure, it could have been a little easier if we had certain tools or if the wood measurements were spot on as we thought they would be, but every DIY project is going to come with its hiccups. I will say 100% the “hardest” part about the whole project was the measurements. No matter what you do, it’s pretty hard to have your wood cut be PERFECT. But, we had enough wiggle room to make it all work. So, if your cuts aren’t spot on don’t worry. Just try to be as close as possible.
How to cover an existing beam with wood: P.S. It’s super easy
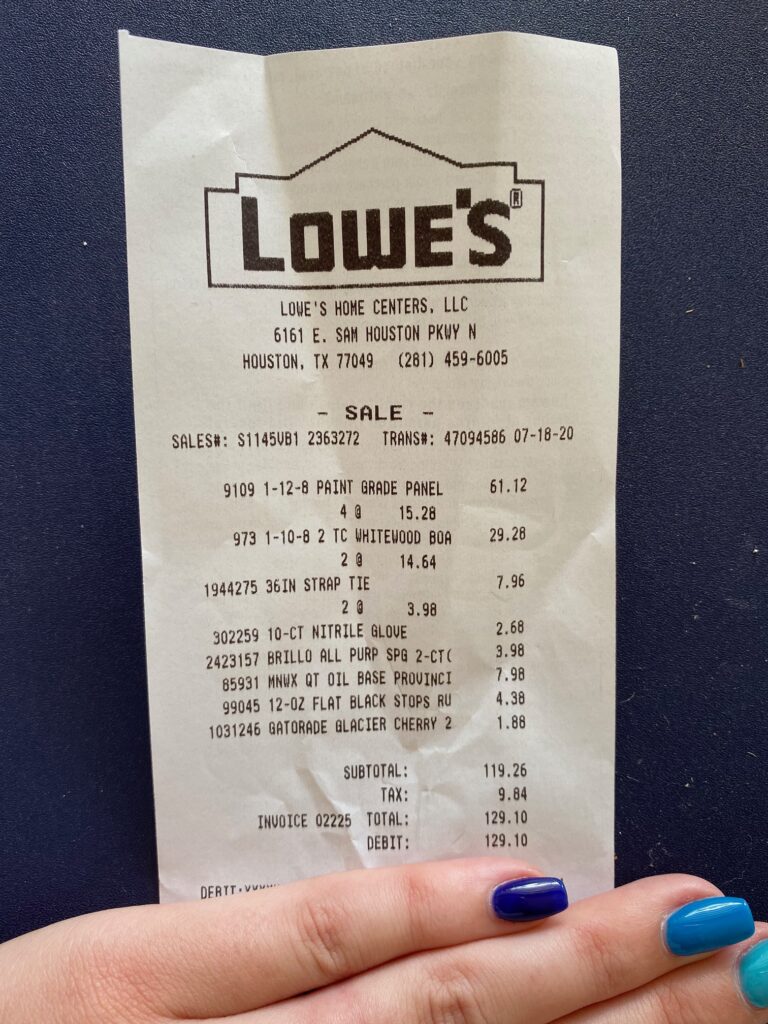
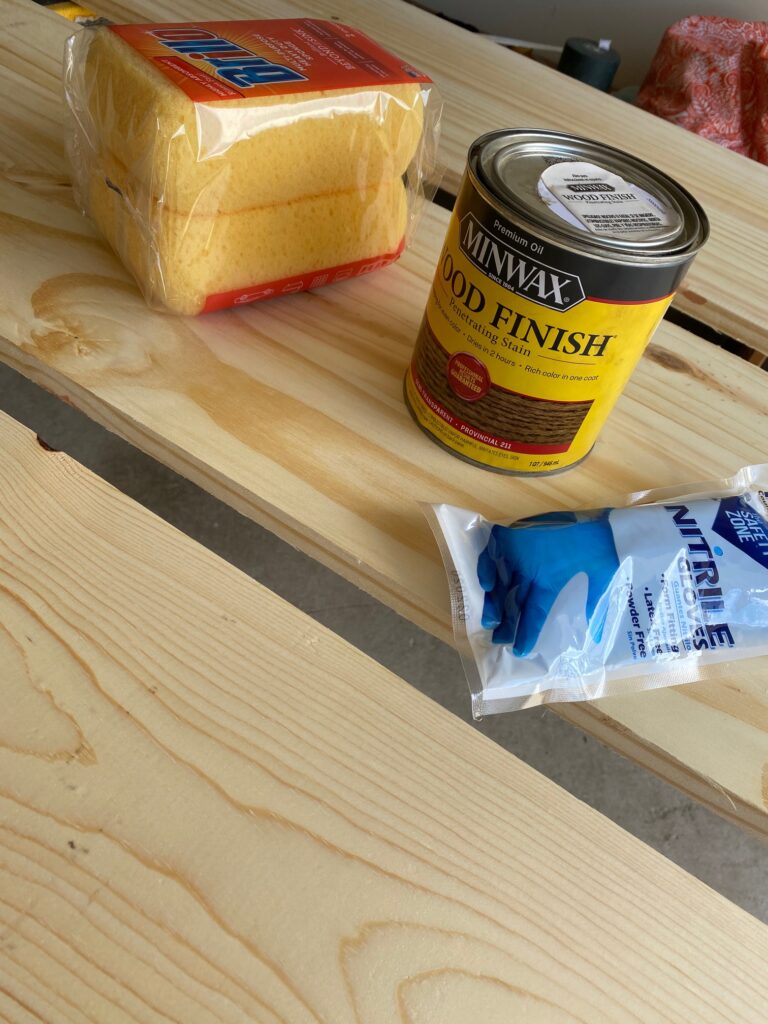
The first thing we did was head to Lowes to get supplies. We had our measurements and an idea of what we wanted to do, so the trip was pretty quick. I decided I wanted to stain the wood a color close to our flooring. That way, when we move, it will still look like it belongs. I thought about staining it to go with our furniture, but I am really glad that I decided to match the wood. It helps tie the room together so well this way. I decided to go with Provincial for the stain color.
We wanted the industrial look so we decided to go with faux brackets to dress it up. They also served a double purpose and helped cover the seam where the boards met in the middle. The other two brackets serve no purpose other than looks. We found some galvanized metal straps that were bendable and spray-painted those matte black. We bent them by measuring them against the bean and marking it. Then using a mallet to hammer it down against a table and bend them. They were a little long so we used a saw to cut off the excess we didn’t need.
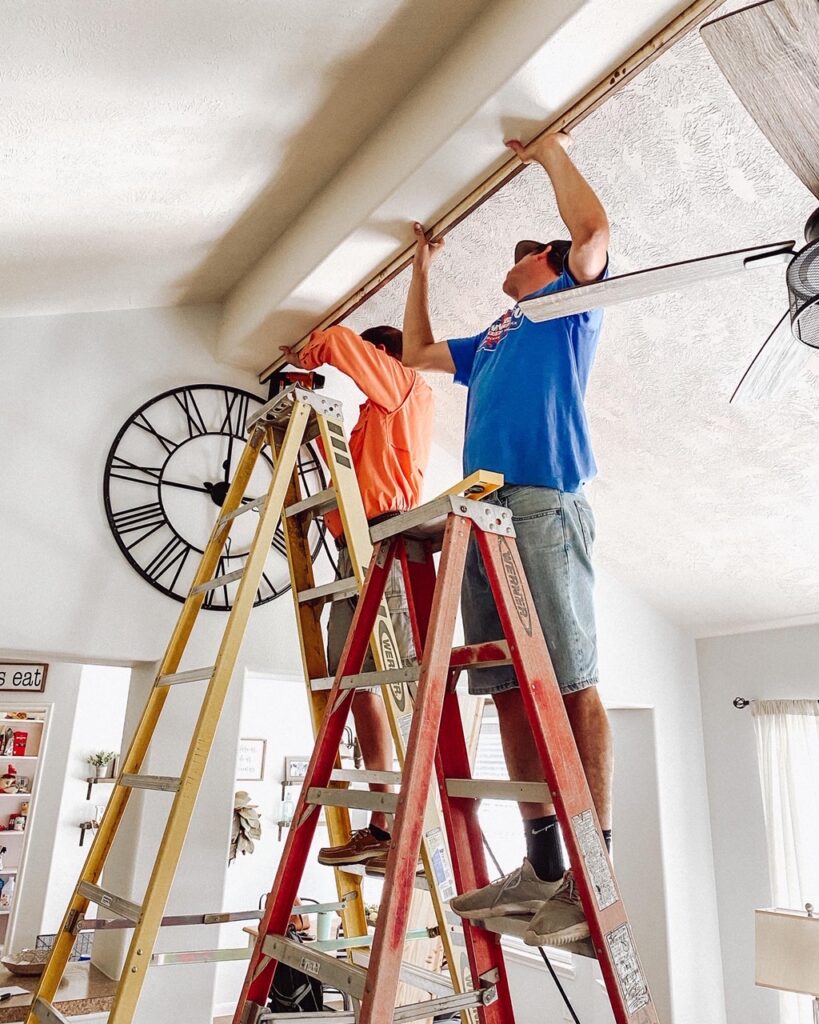
Since our beam’s length was 15 feet, we had to do 8-foot long pieces of wood and cut them to fit. We did 2 pieces on each side of the beam and then 2 skinner pieces for under. We used a nail gun to lock everything in. The wood was 1 inch thick and the nails were 2 inches long. This was the perfect length for them to go through the wood and securely into the existing beam.
To attach the metal straps (brackets) to the beam we used regular old nails and hammered them into the wood. The straps have holes all in them (not sure why) but we just picked a hole to nail through and then used a sharpie to color the nail black so it wasn’t noticeable and shiny.
And voila! A rustic touch to our little suburban home. I am getting super woodsy/mountainy vibes now from the house… maybe I should redecorate. Hehehe. I will list below all the materials used for this project so you can go ahead and screenshot! Let me know in the comments if you liked this post! Also, don’t forget to tag me on Instagram if you used my tutorial! I love seeing y’alls projects!
List of Materials
- 1 can of Provincial stain
- 2 sponges (I used one to stain and one to wipe excess)
- Gloves
- 4 1inx12inx8ft slats of wood (to cover the sides)
- 2 1inx8inx8ft slats of wood (to cover the bottom)
- 3 metal straps
- Matte black spray paint
- Nail gun
- 2inch finishing nails
- Hammering nails
- Hammer
- Saw (if you need to cut the straps)
- Circular Saw (if you need to cut the wood)
- 2 ladders (needed two people up there at once)
All tips and tricks listed on this blog post are from personal experience and results are in no way fact or guaranteed. Individual results may vary based on your own experience.
Let me know if you try this DIY Wood Beam project out! As always, tag me in your projects! I love seeing you guys using my tips so save some money!
Looking for more home decor ideas? Check out my Home & DIY’s page for more ideas for your home! Don’t forget to share this post on Pinterest! Also, tag me in your posts and give me a follow on Instagram (@wifewithabudet) & like my Facebook page, I love seeing how others style their homes!
